Customizing the ArcMap Interface
Problem: I will need to improve my workflow by customizing my ArcGIS interface to better suite my needs. To do this I will need use the customize toolbar mode in ArcMap. I specifically would like to have toolbars that have specific tools that I have been using as I work on my thesis.
Analysis Procedures: 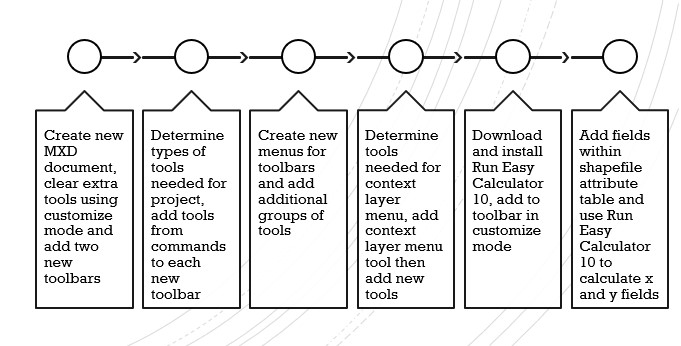
To solve this problem I will need to use the customize tools mode in ArcMap. For an additional part of the assignment I will need to download the Run Easy Calculate tool from ian-ko.com and use data provided from NCSU GIS 520. After completing the tutorial, I opened a new map document and set my workspace environment and saved a new map document. I then cleared all non-standard toolbars within customize mode and created two new toolbars. I then decided what projects I would need new toolbars for and added tools from the commands panel based on these projects. To add additional tools, I created a new menu and added the menus with new names. Tools were then sorted or added to the new menus. To create a new Feature Layer Context Menu item I added the Context Menu toolbar to add menu tools. I then downloaded and installed the Run Easy Tool 10 package. Using the Add-In Controls Tab I added Run Easy Calculate 10 into my toolbar. After adding the necessary shapefiles to ArcMap and adding new fields to the attribute table I used the Run Easy Calculate Tool to populate x and y values.
Results:
The names of my toolbars are Thesis Map Editor and Thesis Raster Animation. Within the drop down menu called study Area Editor of Thesis Map editor I have Start editing, Stop Editing, Split tool, and Cut Polygons. My Thesis Raster Animation toolbar contains Animation Manager, Open Animation Controls, Capture View, Move Layer Along Path, and Clear Animation. The drop down menu is named Raster Display Editing and contains Brightness, Transparency and the run Easy Calculator has been added for this assignment. For streamlined usage of both toolbars I intend to add more tools in the future.
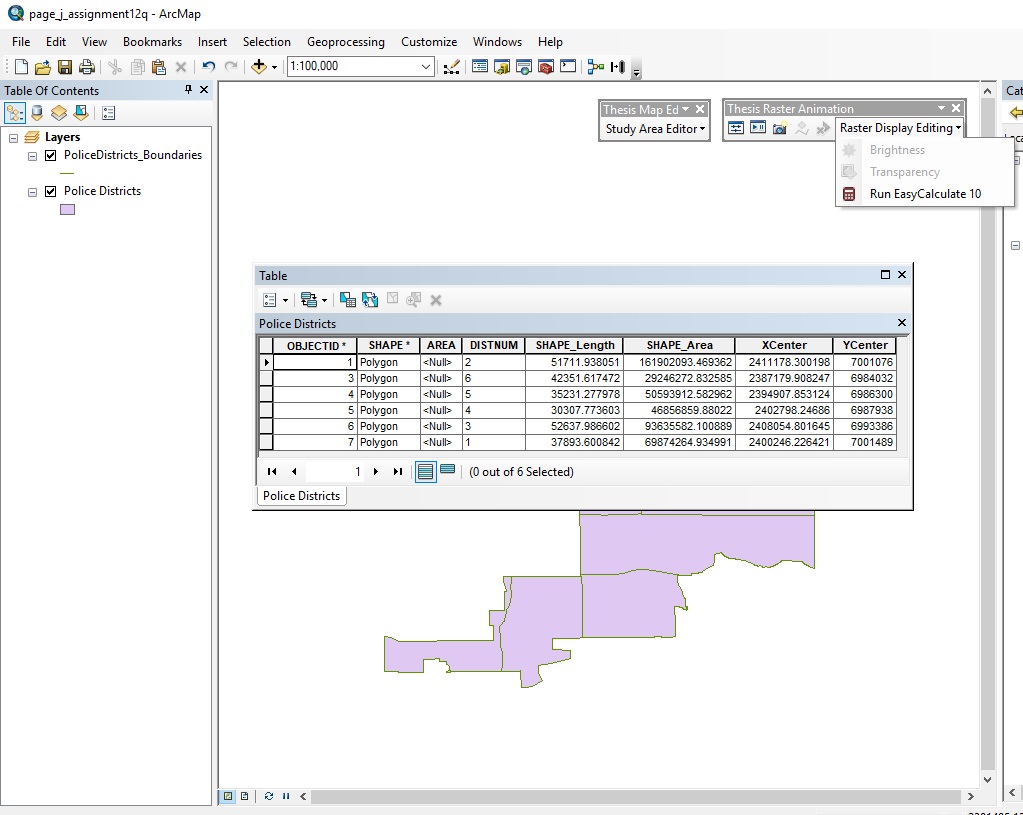
My Thesis Raster Animation toolbar contains Animation Manager, Open Animation Controls, Capture View, Move Layer Along Path, and Clear Animation. The drop down menu is named Raster Display Editing and contains Brightness, Transparency and the run Easy Calculator has been added for this assignment. For streamlined usage of both toolbars I intend to add more tools in the future. 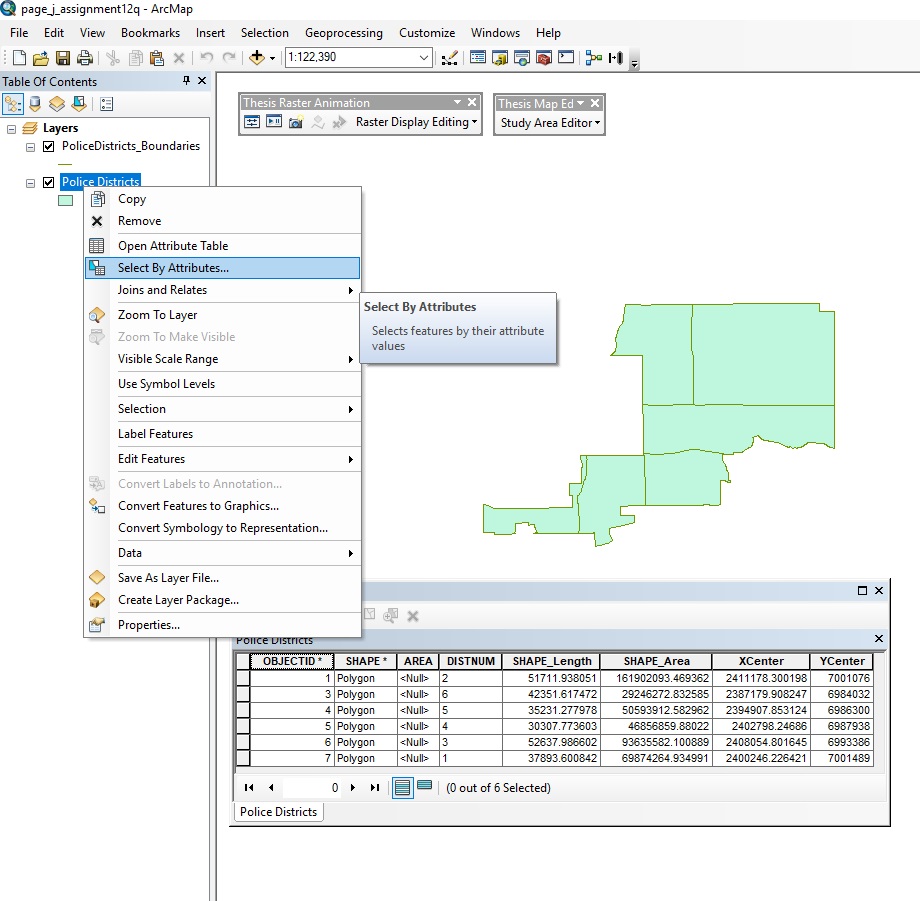
Application & Reflection: The skills and concepts used in this can be used to improve workflow and add additional tools to your workspace that may only be available through external downloads.
Problem Description: A biologist is attempting to model the connectivity of a landscape for migrating forest birds along the Mississippi Alluvial Valley. To begin pulling this data together she will need to streamline her workflow as well was add tools from the Connectivity Analysis toolkit.
Data Needed: She has data that is available from the Breeding Bird Survey and Global Forest Change Data available from the University of Maryland. She will also need to add tools from the Connectivity Analysis toolkit, which is available from klamathconservation.org to her workspace.
Analysis Proceedures: To add additional tools, they would create a new menu and add the menus with new names. Tools should then be sorted and added to the new menus. She knows that she will need a toolset of things such as select by attribute, buffer, and intersect readily available as she creates a model. She will also need to dowl the connectivity toolkit and using the same procedure she creates a toolbar using only tools from the connectivity toolkit.
Additional resources from ESRI: